Universal ERC-20 Honeypot Token
Token Creation Link → Create
About the Token
The Universal ERC-20 Honeypot Token is a highly flexible honeypot smart contract that allows users to buy but restricts selling—except for the owner and whitelisted addresses. The key feature of this token is its universal compatibility, making it work with any DEX and any liquidity pool type, including V2 and V3 pools.
Key Features:
- Users can buy but cannot sell (unless whitelisted).
- Works on any DEX – Compatible with Uniswap V2, V3, PancakeSwap V2, V3, and more.
- Pool-based sell lock – Sales can be restricted per liquidity pool by specifying its address. As an example we can create a pool on each of the DEXs and close the sale everywhere else.
- There is a whitelist, addresses that will be added will be able to sell.
- Supports Ethereum, Base, and Binance Smart Chain.
How to Create a Universal ERC-20 Honeypot Token
Token Creation Link → Create
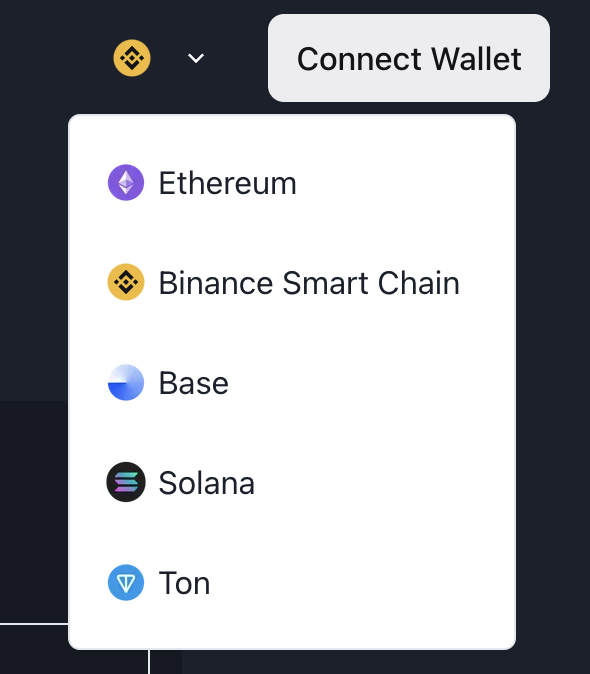
1️⃣ Connect Your Wallet
Ensure you are on Ethereum, Base, or Binance Smart Chain and connect your wallet.
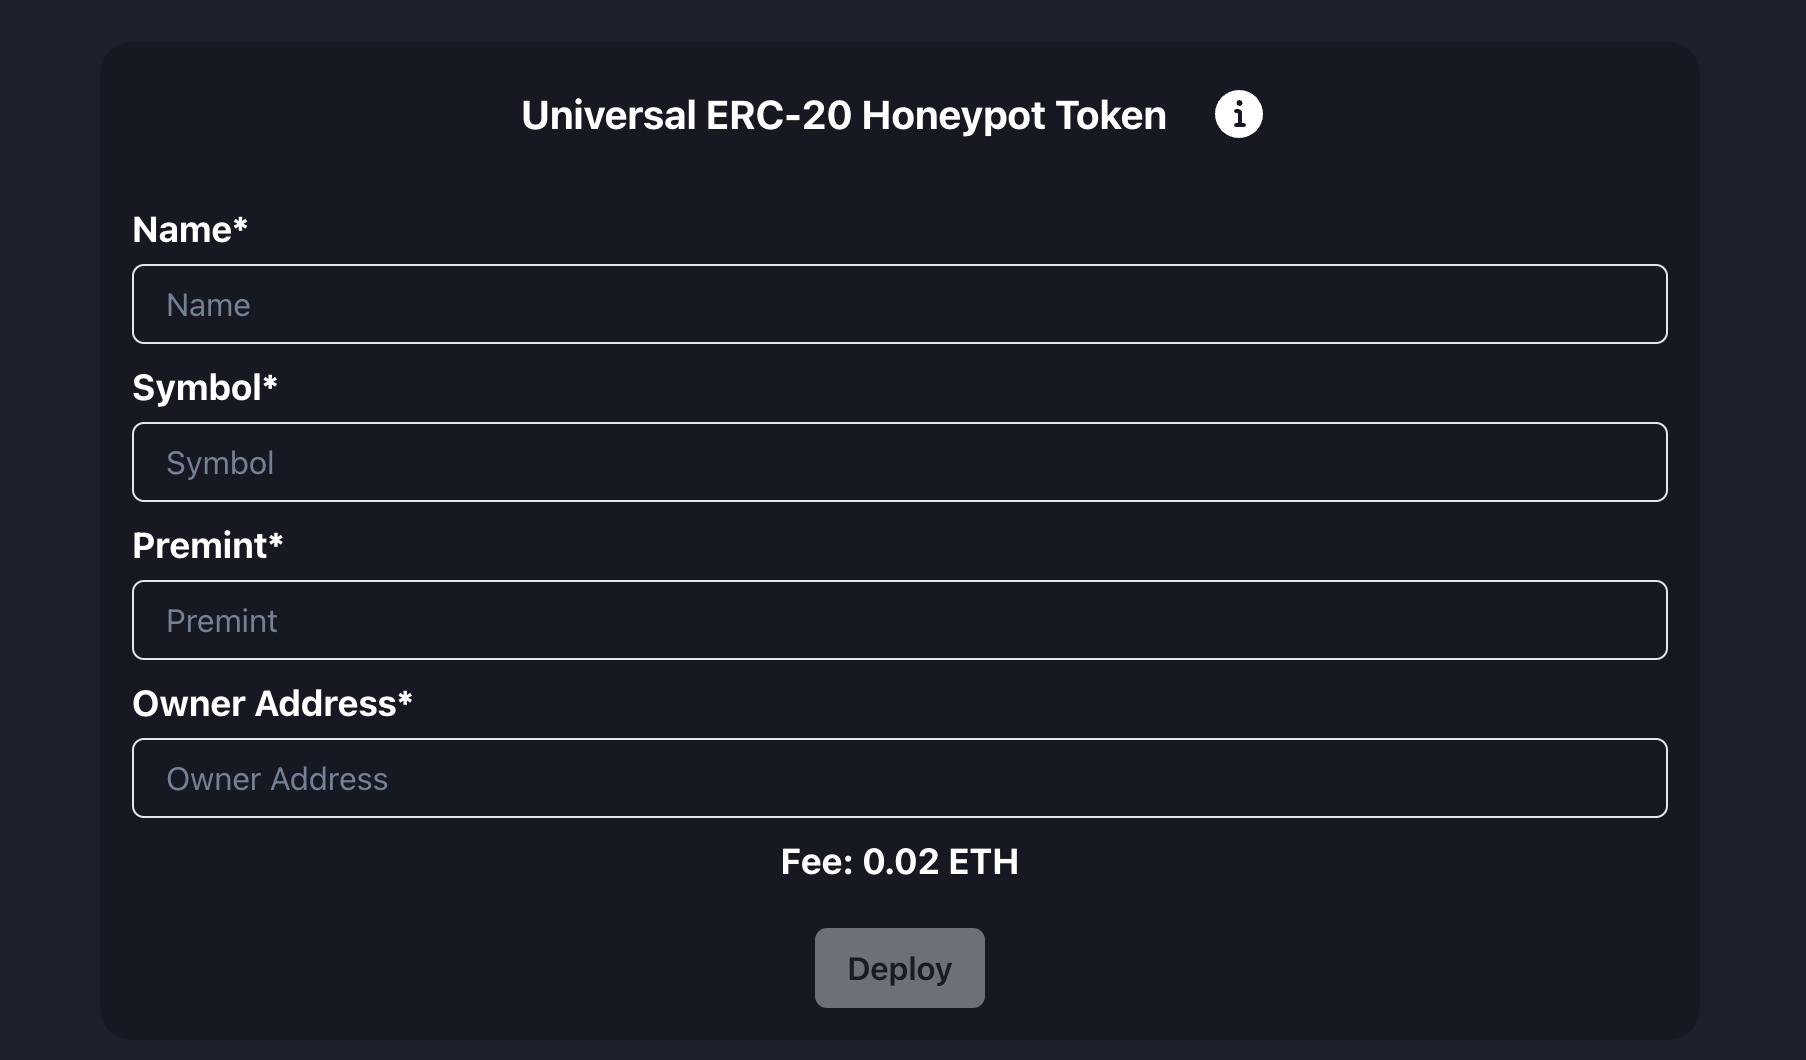
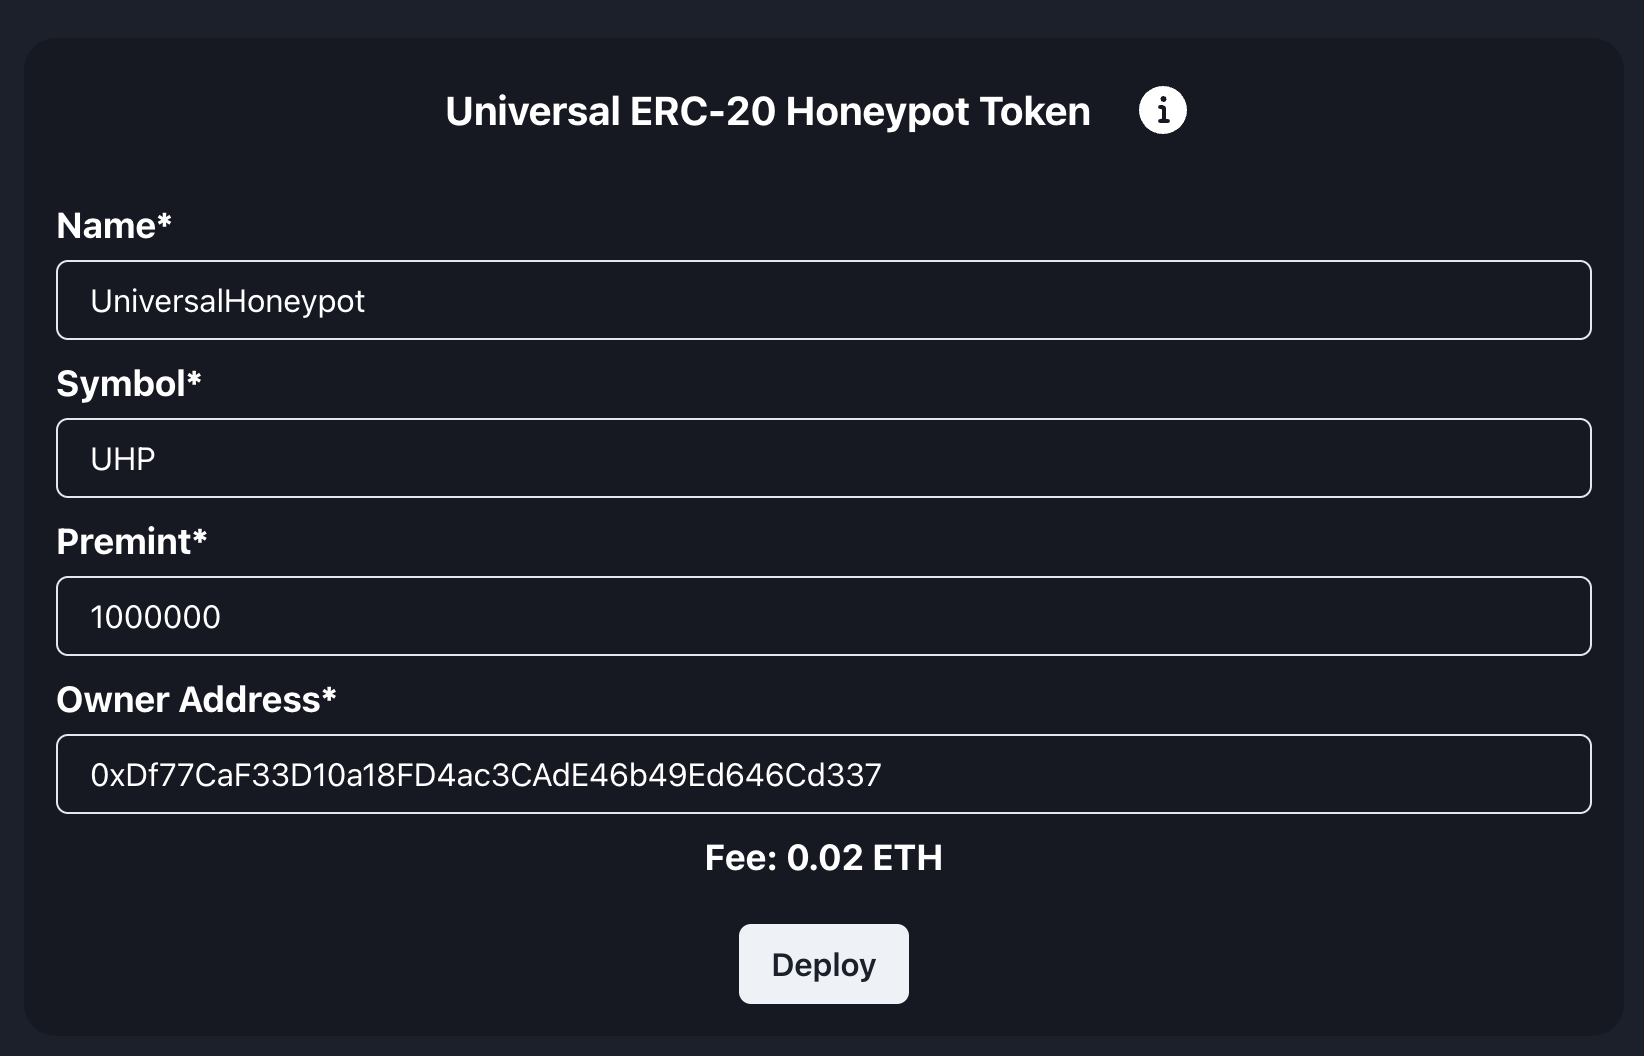
2️⃣ Enter Token Details
- 🏷 Token Name (e.g., UniversalHoneypot)
- 🔠 Symbol (e.g., UHP)
- 🔢 Total Supply (e.g., 1000000)
- 🏦 Owner Address (used for contract interactions, it's best to put in your own admin address)
3️⃣ Confirm Creation
Click Deploy, approve the transaction, and wait a few seconds for deployment.
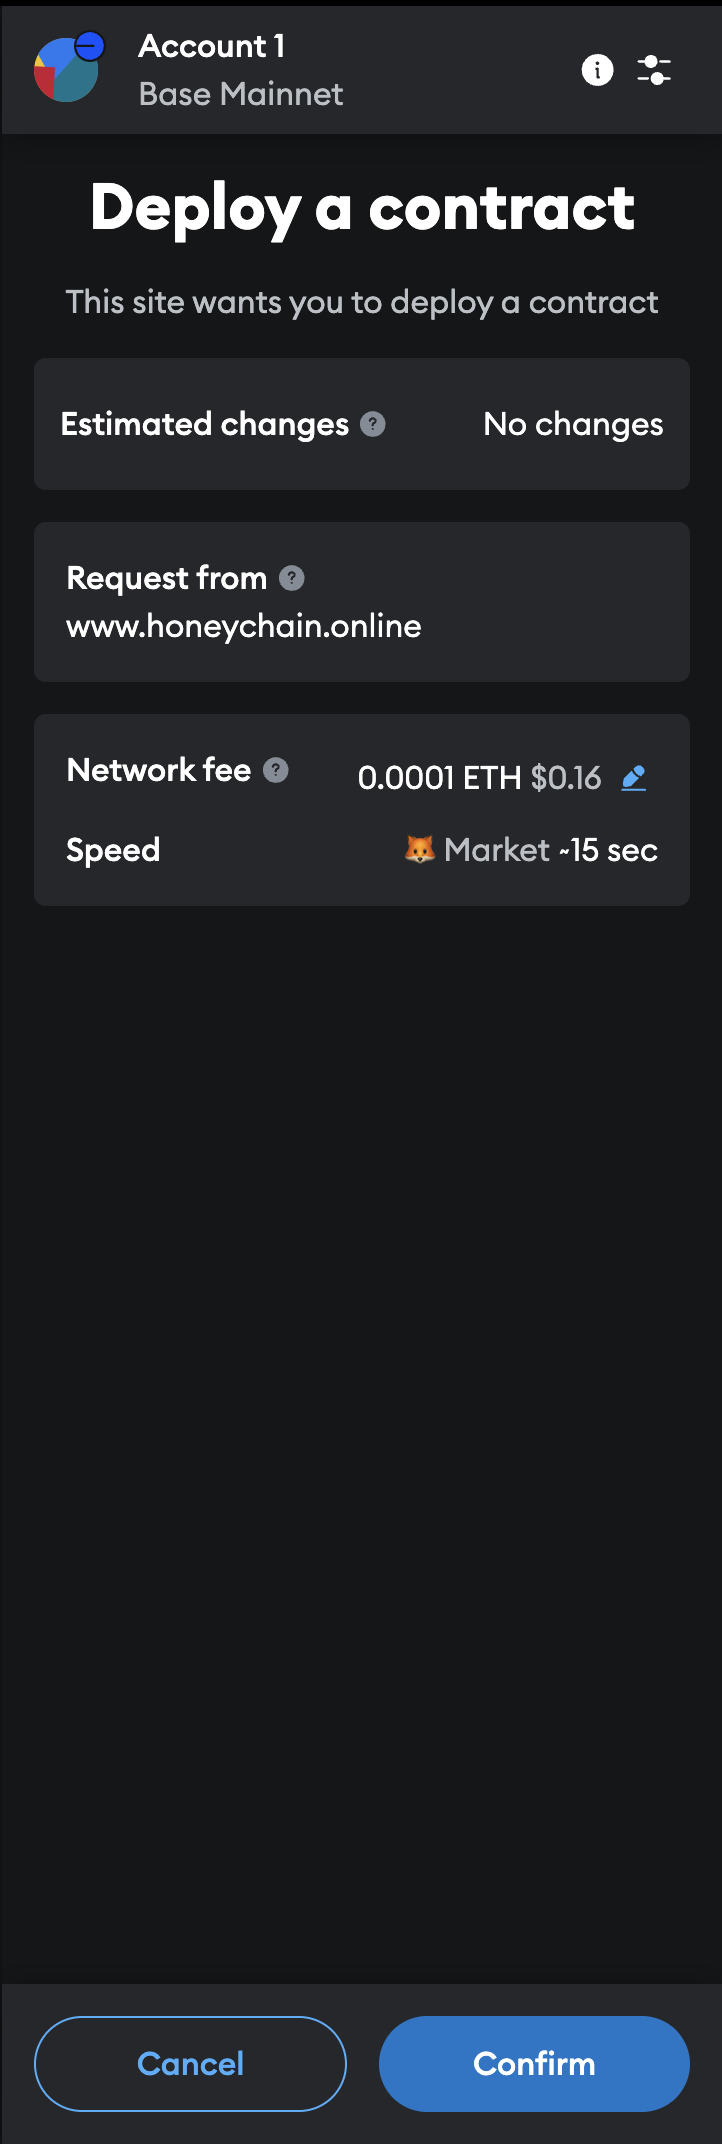
⏳ Your token will be deployed to your wallet or contract address.
4️⃣ Token Successfully Deployed
Once the token is deployed, you will see the contract address. This means your token is live on the blockchain.
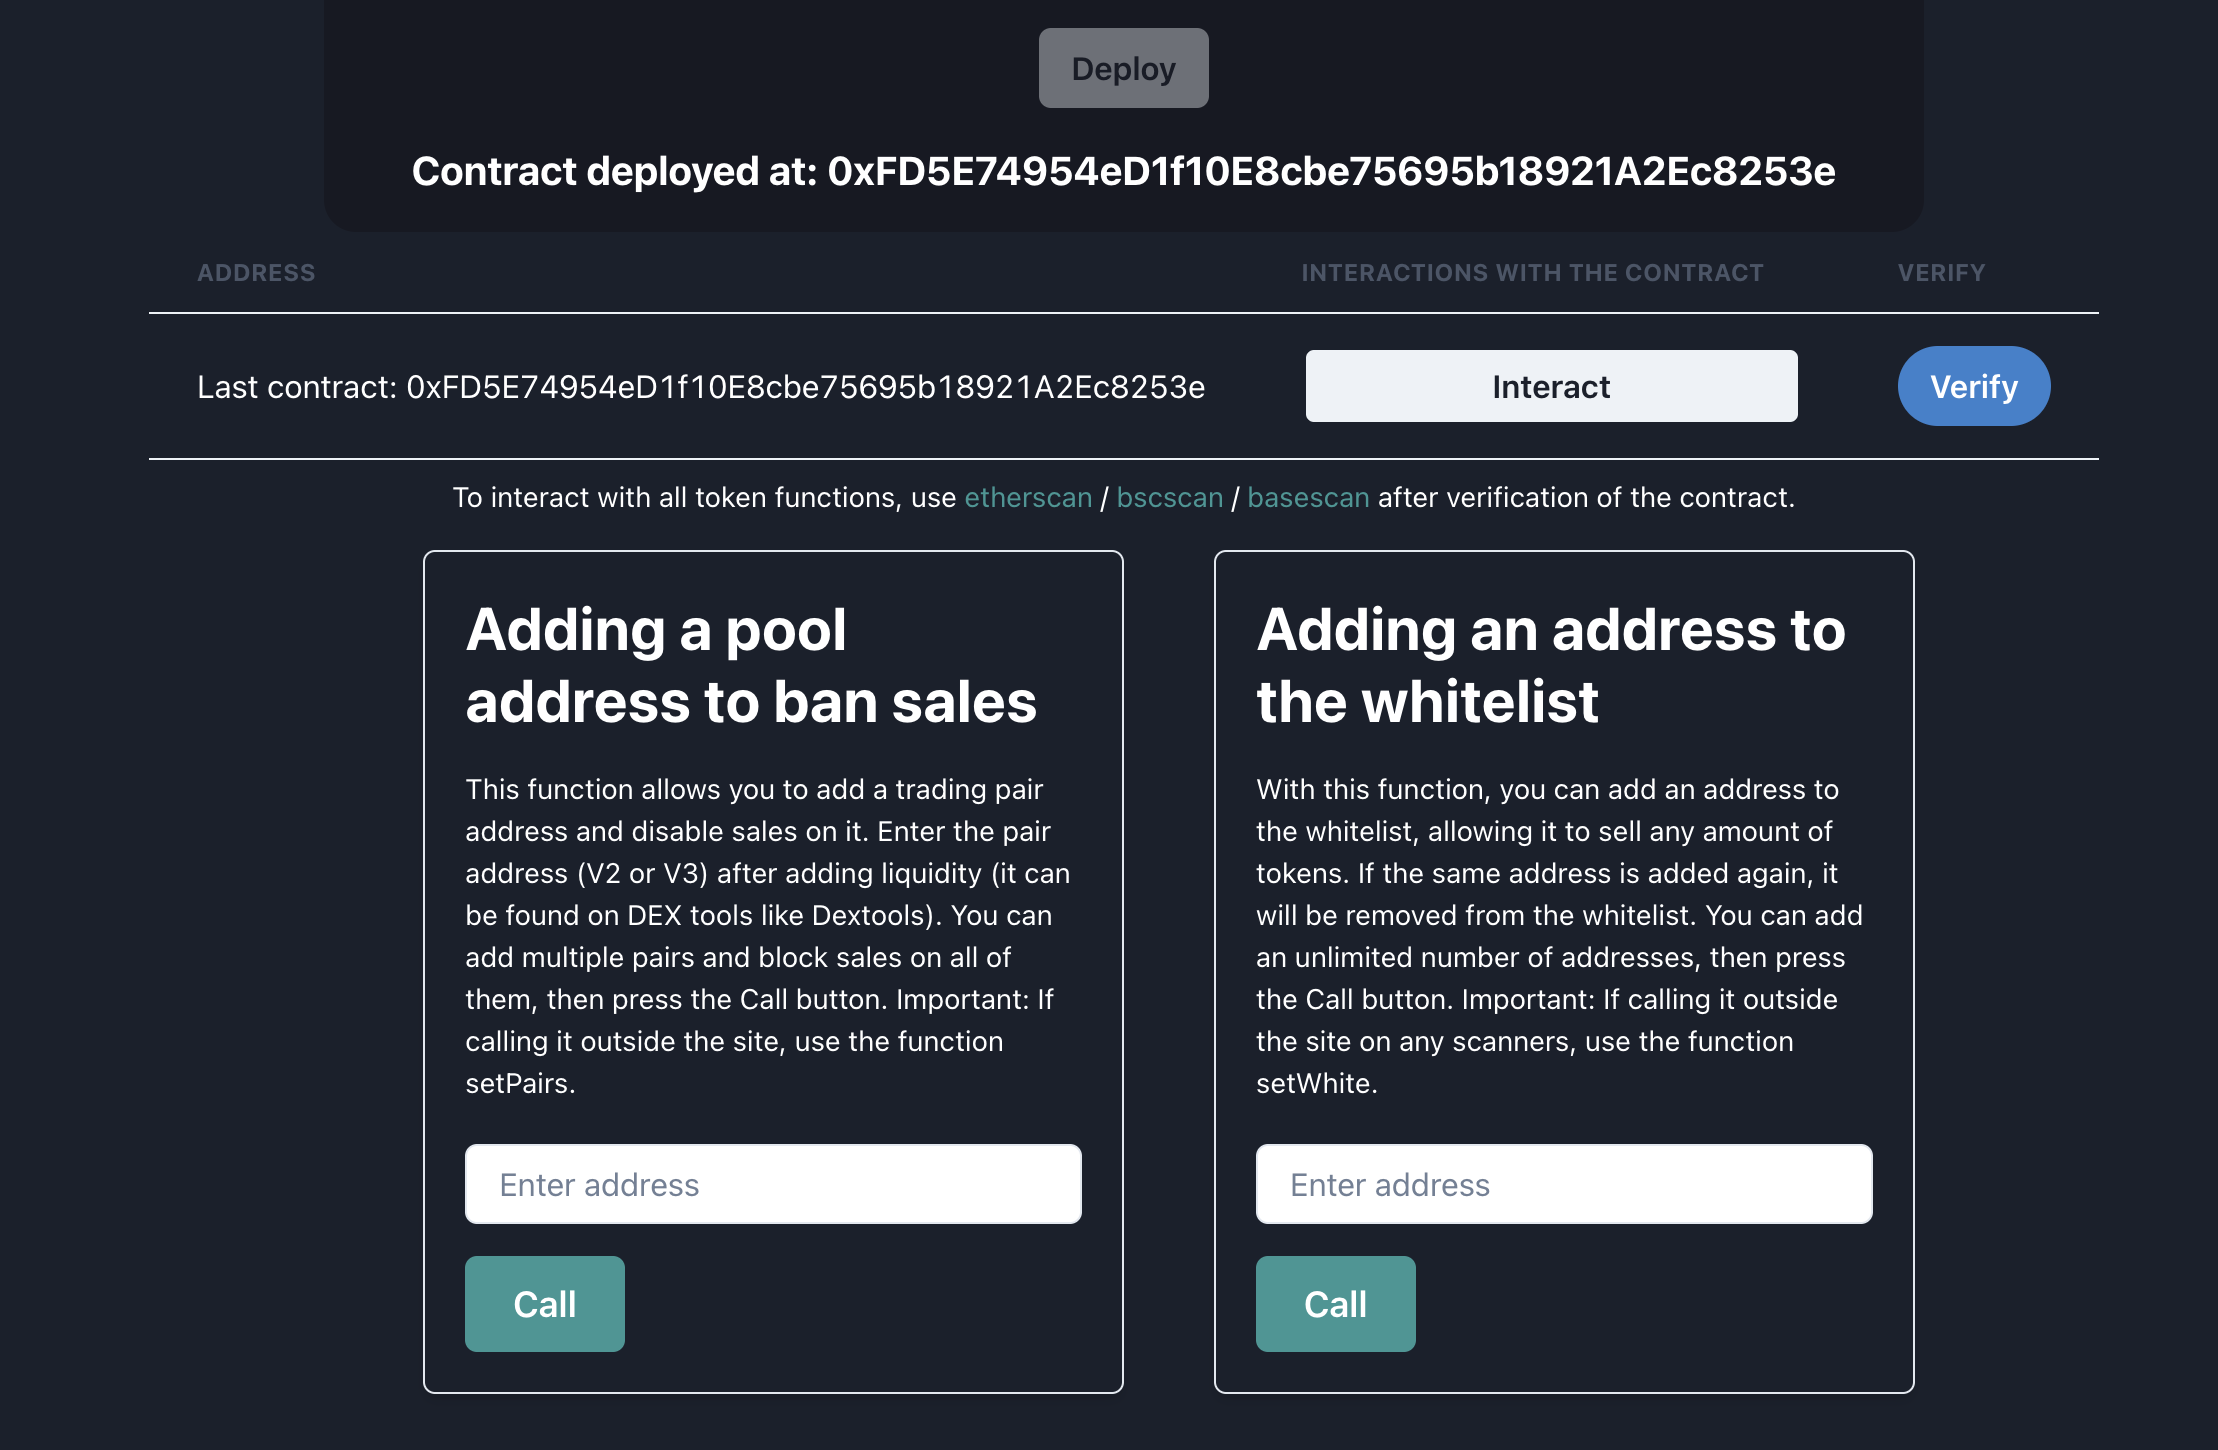
Understanding the Buttons
-
🔹 Interact – Allows interaction with contract functions:
- Adding a pool address to ban sales – With this function we can block sales, after creating the pool we just need to paste the address of the pair(can be found on any aggregator like Dextools) into this function. If you call this function via scanner, its name is setPairs
- Whitelist Address – Allows specific addresses to sell tokens. If you call this function via scanner, its name is setWhite
-
🔹 Verify – Verifies the contract on the blockchain explorer.
5️⃣ Create a Liquidity Pool
Once the token is created, add liquidity on any DEX:
- Go to Uniswap, PancakeSwap, or another DEX.
- Select ETH/BNB or any other, like the USDT as the base currency.
- Enter your token's contract address.
- Add liquidity and confirm.
📖 For more information about pools and how they work, read here Click here
6️⃣ Lock Sales on Specific Pools
After liquidity is added:
- Go to Dextools or another aggregator.
- Copy the address of the liquidity pair.
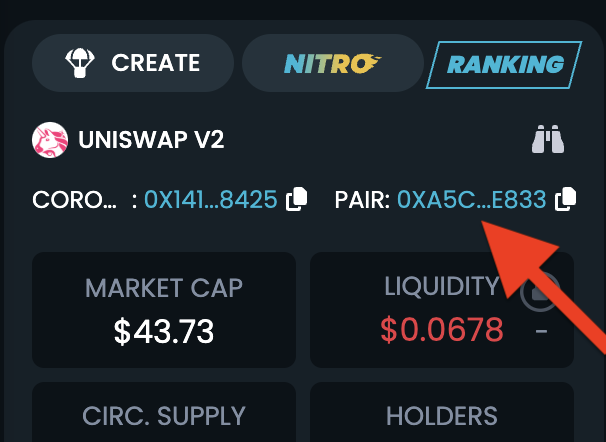
- Enter it into the Lock Sales function. This can be done either on the site or in the scanner call the setPairs function
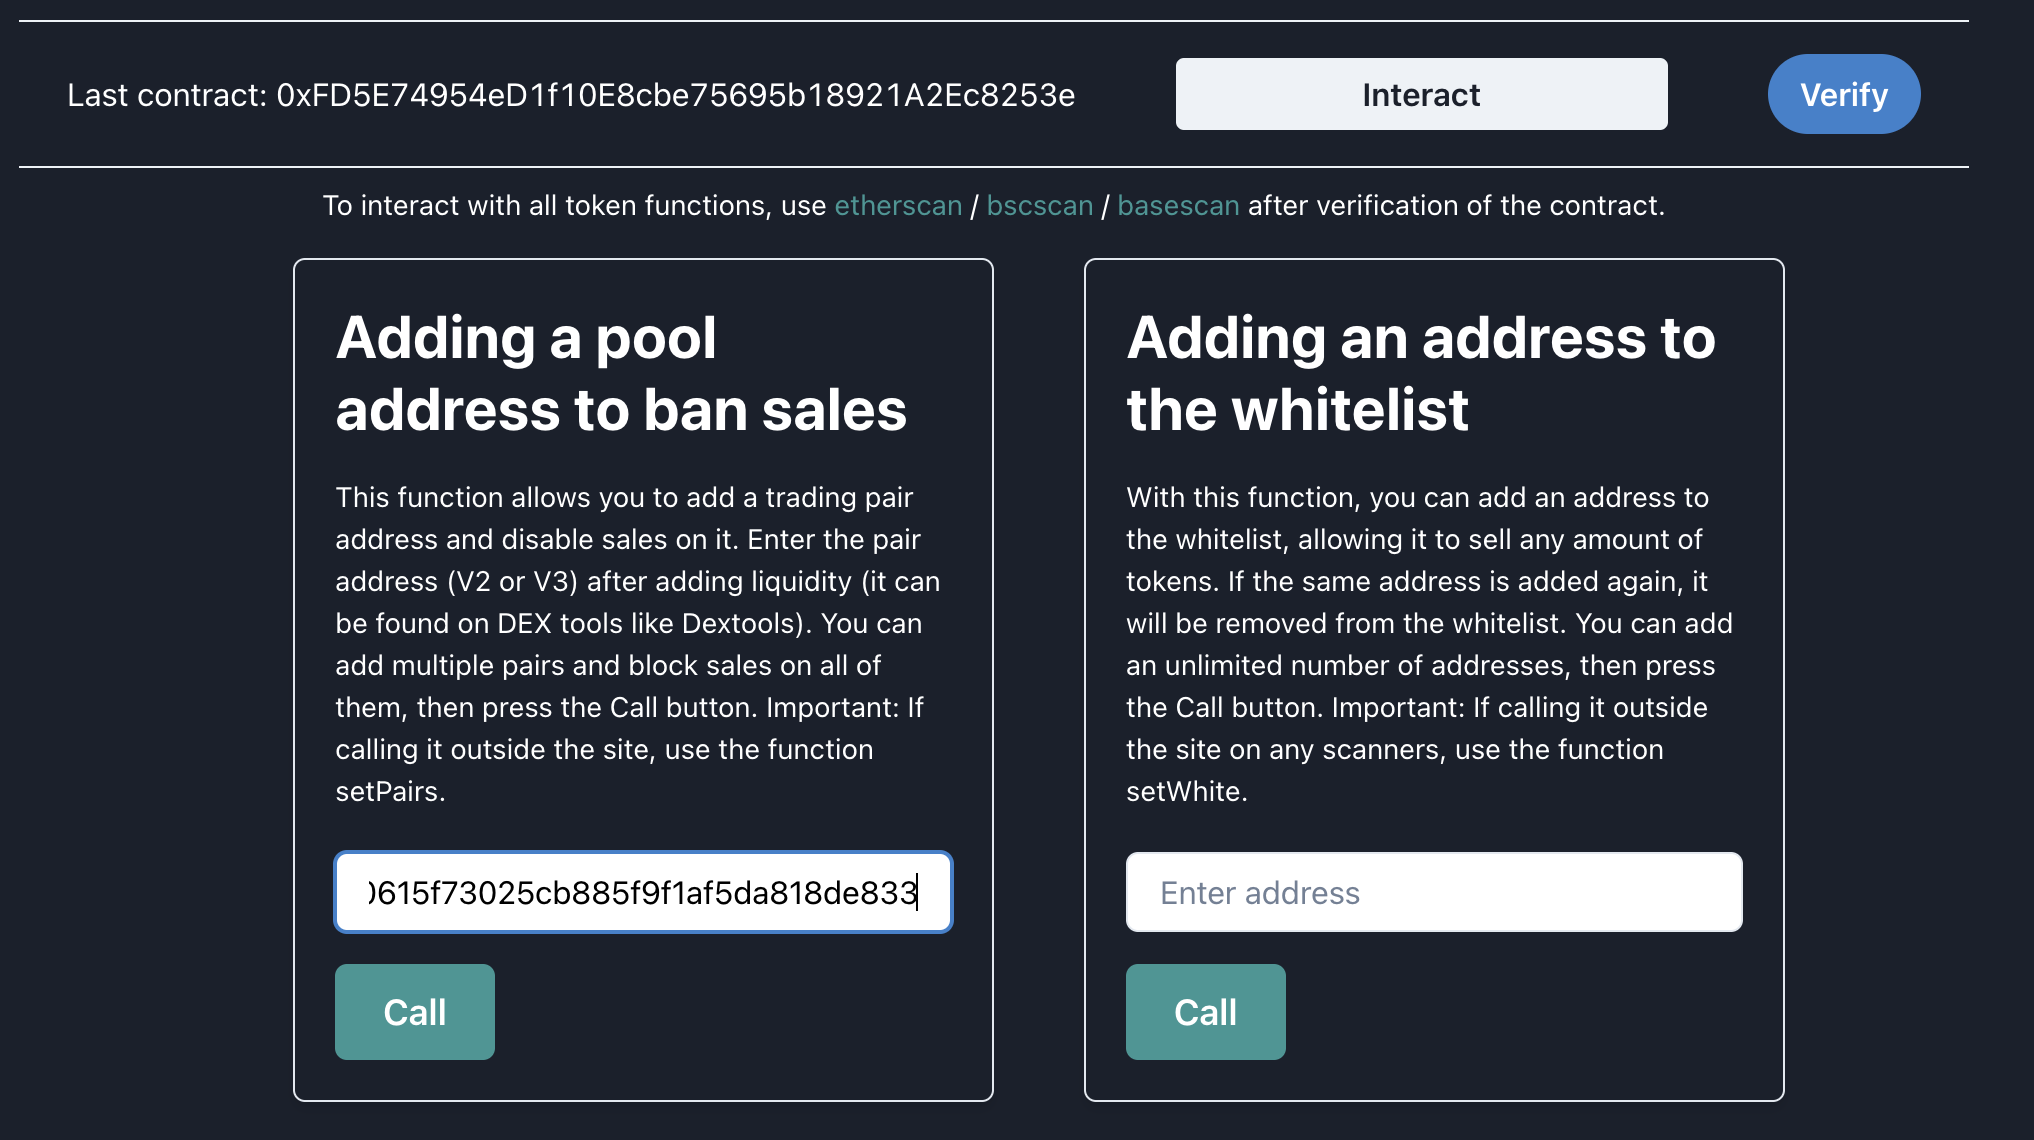
- Confirm the transaction.
📌 Now, selling will be blocked for this specific pool, except for the owner and the addresses on the whitelist.
📌 The same pool address can be inserted again to open sales.
7️⃣ Whitelisting Addresses
To allow specific users to sell:
- Click Interact.
- Select Whitelist Address(Or call the setWhite function on the scanner).
- Enter the wallet address.
- Confirm the transaction.
📌 Whitelisted addresses can sell without restrictions.
📌 You can paste the same address again and it will be removed from the whitelist.
Cost of Token Creation
| Blockchain | Cost |
|---|---|
| Ethereum, Base | 0.02 ETH |
| Binance Smart Chain | 0.1 BNB |
Closing the Pool & Withdrawing Profits
Once liquidity has been collected, the owner has two options:
- Close the liquidity pool and withdraw funds.
- Use the hidden function to credit tokens and remove liquidity indirectly.